
DIY
Wild Clay
Hello fellow clay lover! If you are looking to make pottery with your own wild clay but are not sure where to start, I hope this step-by-step guide can help. If you have any questions, reach out on my contact page.
Note: I dig in western North Carolina and upstate New York. This guide may be helpful in other areas of the world but not all.
Locate wild clay: Look, Smell, Spit
Look for areas where there is little vegetation growing and you see exposed dirt. The nutrients will be less here and may indicate more clay soil rather than organic soil. OR
Look for areas where the earth might have been previously excavated such as where a driveway may have been dug out of a hill. This means someone else has already done the hard part of digging deep into the ground. The cut away on the uphill side of the driveway for example may be a perfect space to dig into.
If you don’t see any exposed clay, thats fine! Just start digging a hole. You want to look for soil that looks compact and even smooth from the blade of your shovel. Look for soil with little to no rocks, vegetation, or roots. You may need to dig down a few feet or more. If it becomes difficult, pick a new area to dig. Sometimes moving only a few yards away can produce vastly different clay and soil.
Smell the soil you are digging. If it smells mild, that is good. If it smells bad or of decomposition, try a new spot. That could mean the soil has more organic matter than is suited for good clay.
Take some soil in your hand, spit on it or add a small amount of water and mush it around. For good clay, it should start to stick together and you will be able to mold it in your hands like, well, clay. If the soil is crumbly even with water, find a new spot to dig. This soil may not be well suited for good clay.
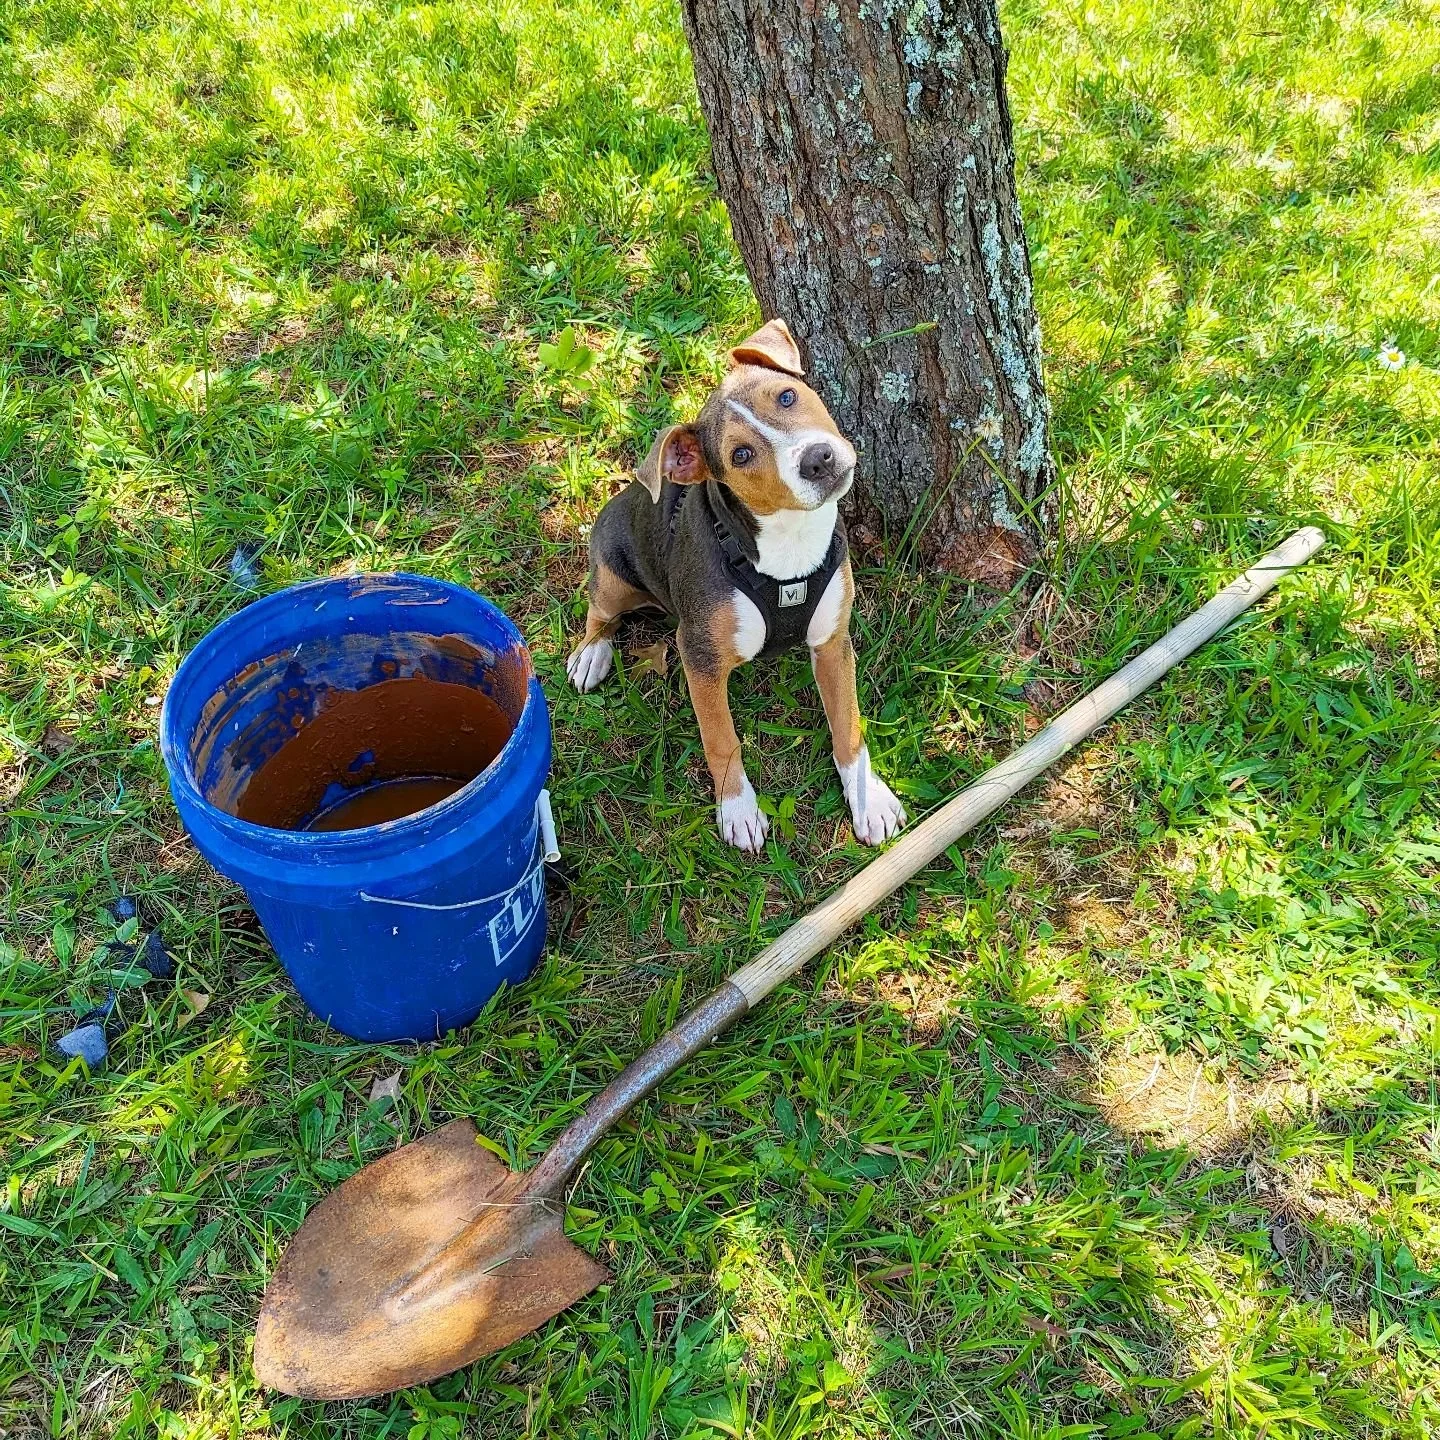
Dig! Fill your container 1/2 full of clay and head home.
Fill your container the rest of the way up with water and mix using a drill mixer until you get it moving like a smoothie in a blender. Let the clay water sit for 2 weeks or more, mixing every day or so with the drill mixer to break up chunks and knock clay off of any rocks in the mix. Be patient, the longer the clay water sits, the better the clay.
Optional After 2 weeks, sieve your clay water through your desired mesh sieve. I prefer 80 mesh or smaller for really good, easy to work with clay but I will sometimes only sieve to 40 or even not at all if I want a really coarse, rustic clay. The clay will be more difficult to work with the coarser it is.
Let your clay water sit for 24 hours or more to allow the water to settle to the top and the clay to settle to the bottom.
Decant the water off the top and pour the remaining clay into a pillowcase.
Hang your pillowcase outside if the weather is nice or inside over a basin to catch dripping water.
Allow the clay to dry until it is the desired moisture content for your purposes.
Wedge and use!